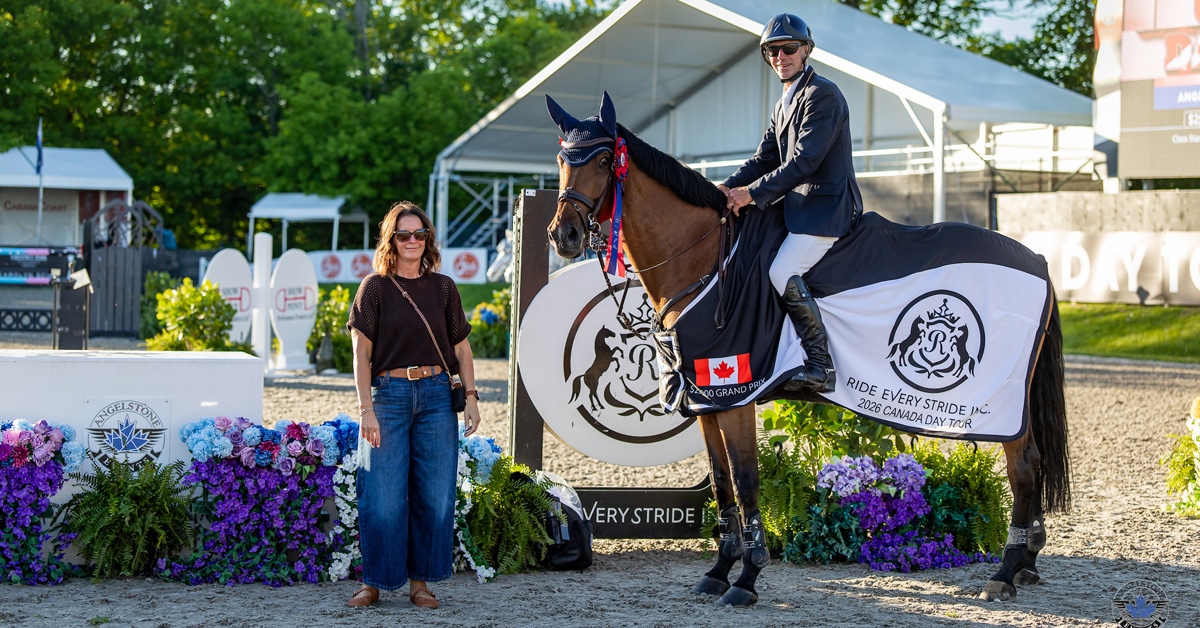
Amy Millar, 38, works alongside her father, Ian, and brother, Jonathon, at the family’s MillarBrooke Farm in Perth, Ontario. In addition to training and coaching, she has over 25 career grand prix wins to date.
“The lungeing system, in the way we use it, can benefit any horse. We don’t use it as a tool to physically exhaust a horse, but instead to improve the quality of the gallop and responsiveness of transitions, and to get some discipline that will improve your training. It’s something we go back to often when we run into a training situation that comes up under saddle, and it is an important tool in working with the young prospects.
When we start young horses, it is a natural transition from the round pen to lungeing under saddle, and even our grand prix horses benefit from time on the lunge line. Lungeing allows the perspective of being the eyes on the ground, which is beneficial as the rider and trainer. I’ve been lungeing under Ian’s tutelage for 20 years and I still learn things. You have to be careful and patient when you are using these tools, but with each horse comes a new opportunity to refine skills and learn something new.
Boot Up and Stay Focussed
We always lunge in bell boots, front boots, and back boots. The most common injury you are going to see from lungeing is an overreach, so the horses should always wear boots to protect the legs. Handlers should also always wear gloves, as they will help prevent the horse from pulling the lungeline out of your hands. If the horse ever learns he is stronger than you, that is untraining and counter-productive.
The most common safety issue I see when lungeing is people not paying attention. Horses learn really fast that they can evade by falling in. When they come in too close, there is
a big loop in the lunge line, so if I was to say,
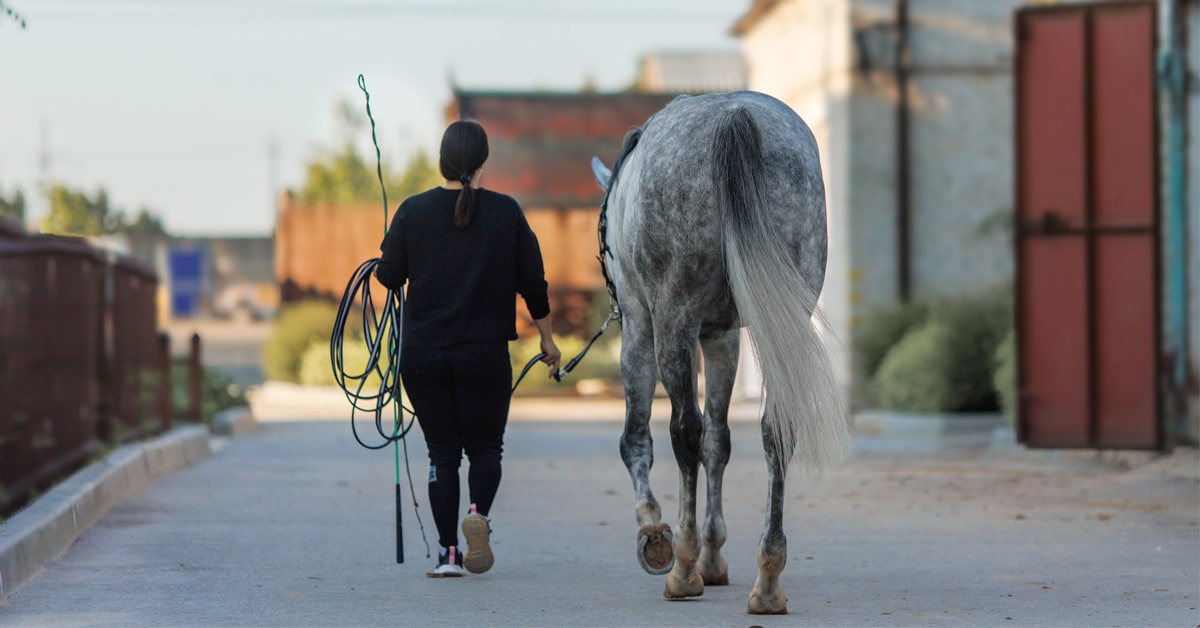
‘whoa to the walk’ and the horse moves in, the slack in the lunge line will make any correction ineffective. If you are paying attention, you can immediately shorten the line and keep the contact; a loop in the lunge is counter-productive both for the sake of training and as a major safety issue. Horses can quickly get tangled in loose line or even get away from their handlers. Pay attention to your horse all all times: no taking photos, answering calls, or texting!
Bridle or Halter?
The most common way that we outfit the horse for lungeing is to fit the horse in a fat snaffle and side reins that attach to the bit and girth. We attach the lunge line by running it through the inside ring of the bit and over the head so that it snaps on the outside ring of the bit. The person lungeing should always have a very long lunge line and a lunge whip. With a young or inexperienced horse we will often put a rope halter on underneath the bridle with no noseband. With this setup we still use a snaffle and side reins, but the lunge line attaches to the bottom of the rope halter.
When you are teaching a horse to lunge, it is a more pleasant experience for them to have a little jerk on the nose than the bit. Horses in the beginning of their training don’t necessarily understand that pulling on the mouth means to slow down – often they will run away if you pull on the mouth, because they run away from things that are unpleasant. In my experience, young or inexperienced horses do not have that reaction with the rope halter.
Side Reins
Our standard equipment for lungeing also includes side reins and either a saddle or surcingle. The side reins are my go-to, because they really help me accomplish that connection of my mind to their mind. It takes experience and a good feel for the equipment to know how short or long the side reins should be adjusted. It depends on how the horse is built; you don’t want to make the side reins so tight that the horse over-curls its neck and gets pain from holding itself in a short frame, because then you are going to get a negative reaction. But if the side reins are so long that they aren’t doing anything, then you can have trouble with discipline and control. When you get exactly the correct length, you will get the horse in the correct frame and will build strength by working all the muscles in the topline correctly.
Depending on the horse, sometimes we adjust the inside side rein two holes tighter than the outside to encourage the horse to carry a little bit of an inside bend. One of the biggest bad habits I see in a lot of horses is that they position their inside shoulder towards you, poke their nose to the outside and run. We want to see (as when riding) the horse yielding around that inside leg and the inside hind leg coming forward, pushing and building strength.
Introducing the newbies
I would classify a horse as inexperienced on the lunge line if it is either very young, has no education, or has never been lunged in our system. Sometimes horses who have been lunged, but allowed to run and play on the lunge line, are the most difficult, because they come with bad habits that need to be corrected.
Before you start lungeing, it is important as a trainer to understand each horse is different and their reactions to your training will differ depending on how they feel in their body and how fresh they are. If you are with a horse that isn’t feeling fresh and you are in a controlled area, one of the first things that we’ll do is desensitize the horse to the lunge whip. We take the handle of the lunge whip and very slowly and quietly, starting at the shoulder, rub it on the horse. If it accepts it well, we move to the side, then the back, the neck, and then once they are really tolerant, we move to the ears and in between the legs.
Safety is important, so be very careful that you have a hold of the horse’s head until it is completely comfortable. The idea is that a horse should not be afraid of the whip, and should understand without fear that the whip may be used as a tool to reinforce what it has been asked to do.
Body Position
We do a lot of round penning with the young horses, where you really learn how the positioning of your body on the ground affects your horse’s movements and attitude, which really gives you perspective when you apply your body position to the lungeing circle. Let’s say, for example, that you are standing in the middle of the lungeing circle and the horse is tracking left; the lunge line should be held in the left hand with the extra line looped across the palm. With the left hand you ideally hold a light contact and slight connection with the horse’s mouth, almost as though you are riding – the left hand acts as the reins, and the right hand acts as the legs, and I want to keep the horse between my hand and leg the whole time. My hand is pointing at the horse’s barrel and pushing the barrel out to get the right shape. When you round pen, you learn that when you step slightly behind the horse it will drive them forward, and if you step slightly forward that will slow them down. When the horse is fully trained, you shouldn’t have to move and they should go around you, but when you are first training you will often move around to push them forward or out.
The Lungeing Process
When I first let the horse out on the lunge line, if it’s young or fresh I don’t want it to run and buck and play or pull me over, because that is rude behaviour. But if the horse is wild or it’s a cold or windy day, I will let it trot around and unwind and not ask it to do anything for a few minutes.
At the very core of our lungeing work is transitions. You want your horse to work at the correct speed and frame at all gaits with responsive transitions. At the trot, if the horse is going too fast, I say, ‘whoa to the walk.’ If the horse does not respond, repeat the aid and give a little tug with the lunge. Continute to give a light tug on the lunge line until you get the reaction that you desire. Go back to the trot with the verbal aid of ‘trot on’ and an upwards inflection of the voice. If the horse does not trot, respond immediately with a cluck. If there is still no response, shake the lunge whip towards the barrel.
Voice is very important in the early stages. Anything ‘up’ at the end and the horse will do an upwards transition, and the same goes for downwards transitions and low inflection. The goal is to educate the responsiveness of the horse, and I will work on these walk/trot transitions until it understands what is expected, and only then move to the canter.
Improving the Quality of the Gallop
With more experienced horses, including our grand prix horses, lungeing can be used to improve the quality of the gallop. Establish a canter on the lunge with the vocal aid, and if the horse canters for three steps and then gets strong or falls off its lead, you immediately ‘whoa to the trot’ until the horse accepts a good, relaxed pace, then back up to the canter. This time you canter maybe five steps; as soon as it starts to erode, you go back to the trot.
Continue doing this until the horse can canter around the circle – which may not happen for a while – with a good-quality gait. Watch the way your horse moves, which direction it prefers to go, which direction has the better-quality gait – all of these things can be really beneficial. If my horse has a poor right lead and is good on the lunge, I will start on the right lead and finish on the right lead. If I do this for a month, the right lead will likely be as good as the left by the time I am done.
Only perfect practise makes perfect, so if a horse practices galloping on a soft 10-12 foot stride in an appropriate frame, this will become the horse’s habit. You will then find this gallop much easier to achieve when you ride them. Improving the gait and the quality of the gallop is what we are trying to achieve.”
The Latest