When Jay Duke breaks down a course, he tells his riders that “a jump is just a taller canter stride between two corners.” While this simple concept is often filed in the category of “easier said than done,” Duke positions much of his training around the hunt for a perfect corner.
A trainer, clinician, and Canadian Show Jumping Team veteran, Duke has a knack for putting together exercises that bring out the best in both horse and rider. At the heart of many of those exercises is not usually the jump, but what comes before and after the jump.
“Courses are designed to be ridden from corner to corner, not jump to jump,” said Duke, who has stockpiled many of his training tools in a Virtual Lesson Subscription Program. “The corner is the springboard that propels horse and rider into a good – or bad – jump. A square, forward, balanced corner that is ridden back to the center of the jump will produce a perfect distance every time.”

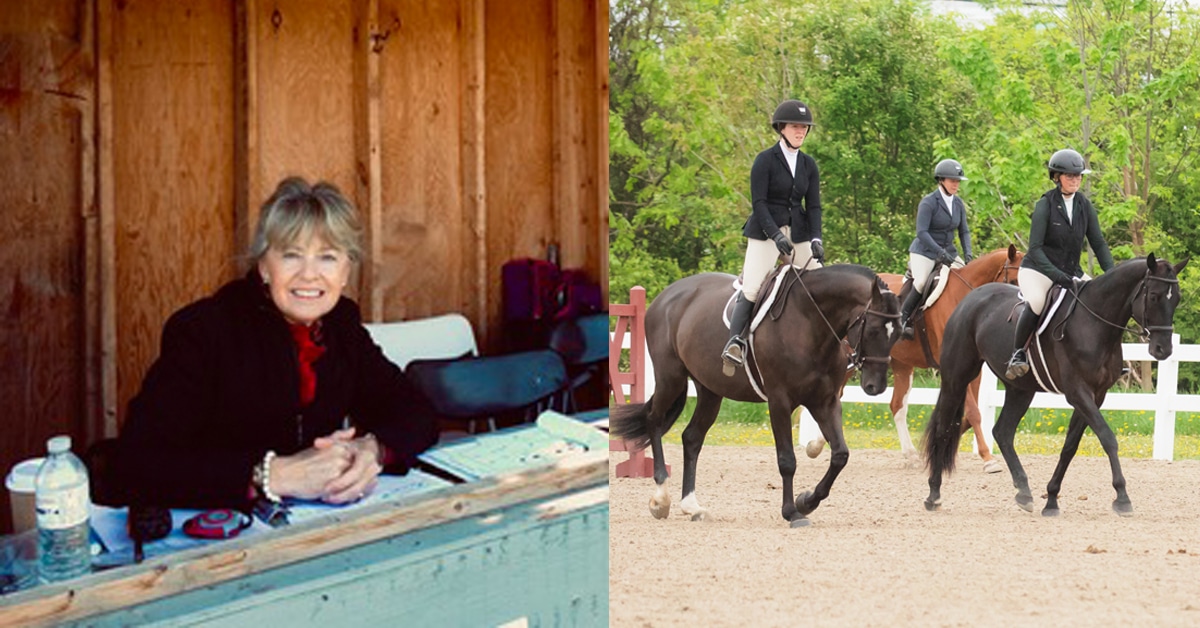
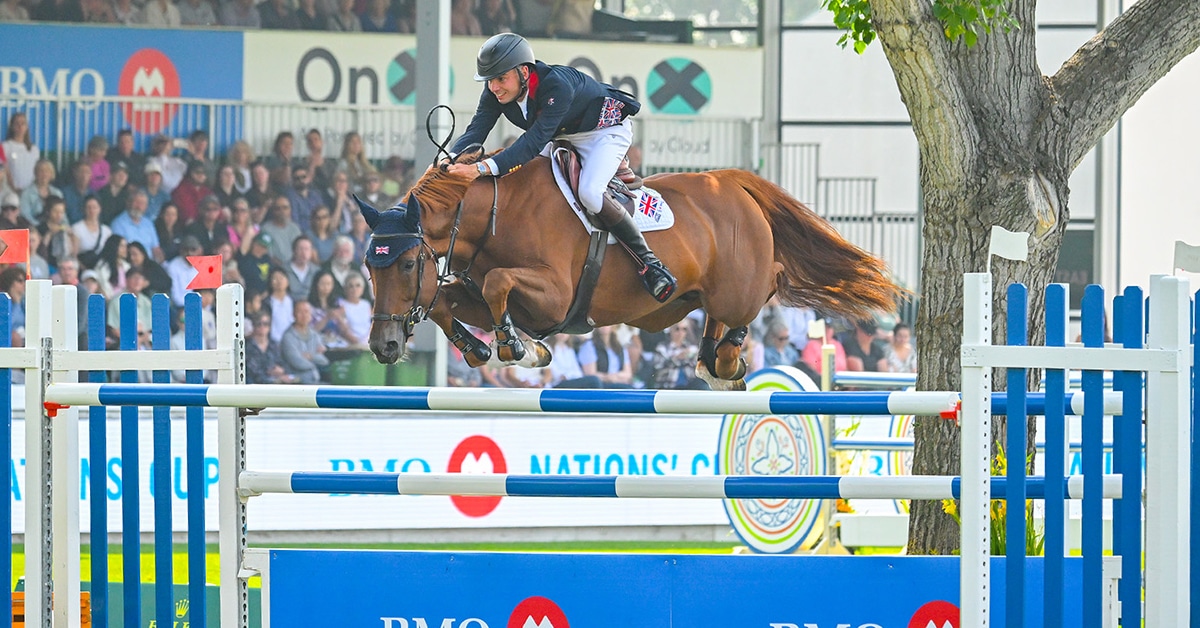
The “Between Two Poles” exercise is a great choice for all levels. This rider maintains a straight line and is ready for the next corner. (Lindsay Brock/Jump Media photo)
Keep It Simple
A very effective exercise for any level horse and rider combination is one Duke calls “Between Two Poles.” The exercise appears simple at first glance, but demands the elements of a good corner and approach to a jump. In this case, the jump is simply a pole on the ground.
“Riding straight, square corners off the turn and maintaining that straightness through an exercise is a very useful show-prep tool,” said Duke. “It reminds riders to ride with two reins, two legs, their eyes straight, and to remain in the center of their horse at all times.”
This is a favourite exercise of mine to evaluate the rideability of a horse and the effectiveness of a rider’s aids through the approach and landing corners. Straightness is paramount in this exercise. Practice square corners and use the length of the arena, ensuring every step from end to end is in a straight line, going over the exact center of both poles.
Tip: Don’t forget to practice the exercise in both directions.
Part 1
A) Trot over the first pole.
B) Transition to the walk for a few steps, then back to trot.
C) Trot over the second pole.
Part 2
A) Trot over the first pole.
B) Transition to the walk for a few steps, then trot.
C) Repeat step B.
D) Trot over the second pole.
Part 3 (Intermediate level)
A) Trot over the first pole.
B) Transition to the walk for a few steps, then trot.
C) Repeat step B.
D) Repeat step B again, executing six transitions before the second pole.
E) Trot over the second pole.
Part 4
A) Canter the first pole.
B) Transition to the trot.
C) Trot the second pole.
Part 5
A) Canter the first pole.
B) Transition to the trot.
C) Transition to the canter, picking up the same lead you started on.
D) Canter the second pole. Note: Try to place your horse at the correct distance at both poles.
Part 6 (Intermediate level)
A) Canter the first pole.
B) Transition to the trot.
C) Transition to the canter, picking up the same lead you started on.
D) Repeat steps B & C.
E) Canter the second pole.
Let’s Jump
What Duke calls the “Oval of Fun” is a track adjustment exercise that challenges both horse and rider on a medium, inside, and outside track. This exercise can be practiced at the trot and even the walk before moving up to the canter. At its core, the exercise is a continuous corner.
“At the canter, the key is to achieve the different step counts with no pace adjustment,” said Duke. “We are simply adjusting the initial corner and the corner inside the bending lines in order to get the strides done on an even pace.”
The Oval of Fun is challenging both physically and mentally for horse and rider, but is appropriately named because it is fun! You start on a circle with three verticals set at a quiet three strides between the center of the fences. Riding the exercise this way is the medium track with a square corner riding from the middle to the middle of the three jumps. The next step is the inside track, which includes a shape in the turn to the first fence riding slightly right to left and follows a shallow track to the second and third fences. The outside track requires an early turn to fence one to set up a left-to-right angle and then to stay slightly wide to fences two and three, using the outside leg to come back to the center of the jumps with a slight right-to-left angle.
Eye Count
There are multiple tools to help the rider find the correct distance out of the corner. One of those is using the count of strides in a line to help determine where a horse is in relation to the next fence. It’s very important to have a horse shaping around the inside leg to the outside rein in any turn.
“Repetition is key in the exercise,” said Duke. “Shaping the horse through the turns, keeping the track across the center of the jump, preferably landing the lead, and working through the next corner to the center of the next jump is the sequence. Remember to do it three to four times in a row because as the horse gets more subtle and responsive; it never rides the same way twice.”
This exercise is specifically designed to use the stride count and eye together. I am not a big fan of using the “one, two” or the “one, two, three, four” count between the jumps, though for some riders this works very well. People do not all see distances the same way, so it is important to not put riders “in a box.” In this lesson, I have the rider counting strides through the turn, which I would only do in competition with an advanced rider in a speed or jump-off situation. The exercise is excellent for creating spatial awareness.
Part 1
Canter fences one through four putting nine steps between each jump. With this configuration of fences all three turns ride differently. The second turn is the longest and the third corner is the shortest. This prevents the rider from guessing where the turn should be and makes them use their eye along with the count to figure out where they are. Do this until the rider does nine strides between all four fences. The adjustments should be done using track, not pace. For all the different striding numbers the pace should be exactly the same—quiet, and controlled.
Part 2 (Intermediate level)
Do seven strides between each fence.
Part 3 (Advanced level)
Do five strides between each fence.
Part 4
Do the exercise in reverse. Use whatever stride numbers you wish with a maximum of nine strides and minimum of four strides.
Tip: Make sure the rider is looking at the next fence in the air over the fence before. And use all the space you have available. This translates to the show ring in that you should use all the space the course designer has provided for you in the corner while, of course, staying within the time allowed.
Duke’s final advice for success over any course is to repeat his mantra about corners over and over: good corners make good jumps!
The Latest
