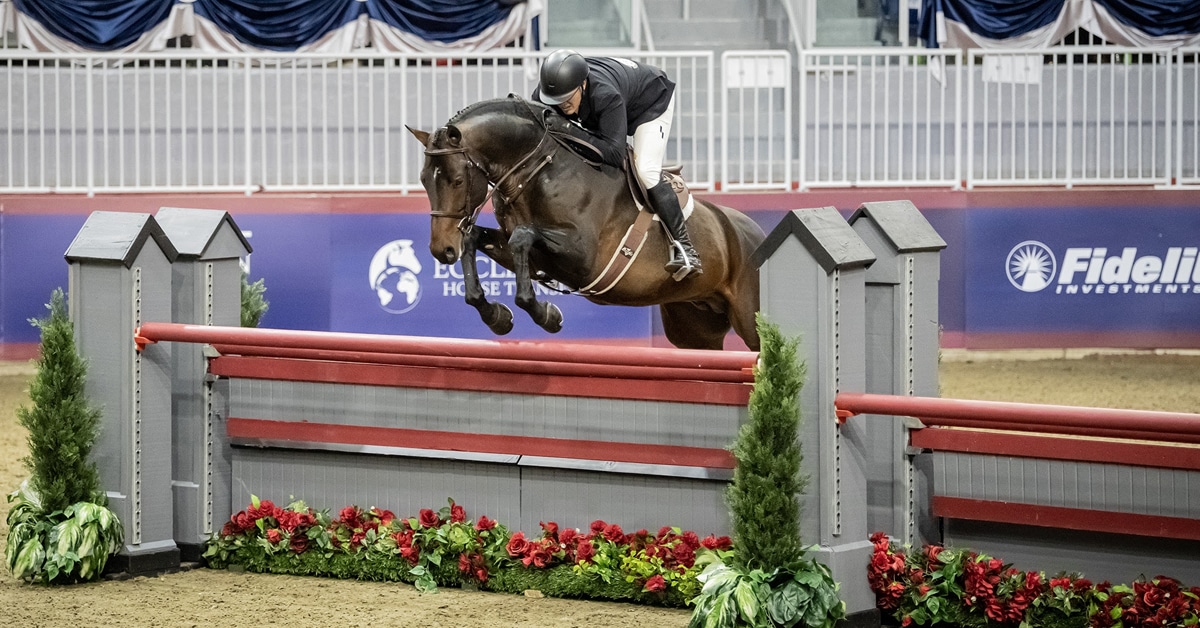
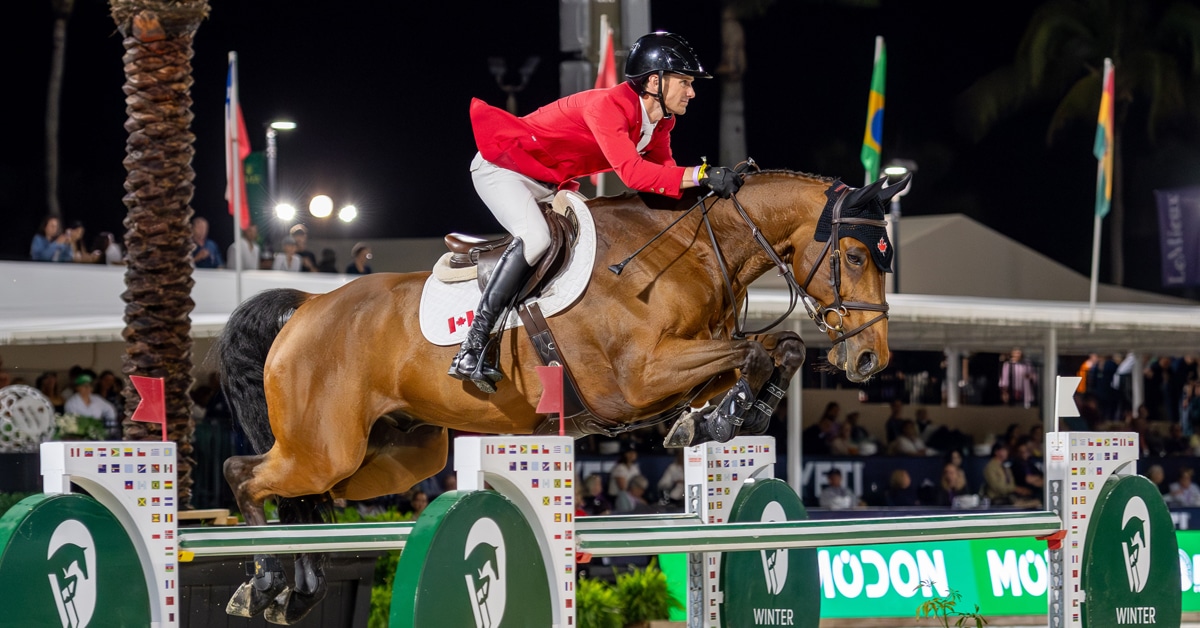
The three key ingredients of a winning hunter trip are smoothness, straightness, and style: everything flows, and nothing requires any sudden surprise adjustments. By this stage, you have all the tools for a winning hunter round. As a thinking, feeling, responsive rider, you can manage just such a flawless-looking ride as long as you prepare intelligently. That means practicing a lot of different lines, so that you become confident in your ability to recognize and adjust invisibly to create a smoother trip. It also means carefully analyzing the course you’ll be riding and developing a well-thought-out plan with provisions for all contingencies.
Analyzing the Course
As early as you can, check the course diagram—and make sure you’re looking at the right one; if two hunter classes are running back to back, there may be one course for the first class and another for the second. Check the footage on the chart, too. Normally, the distances in first-year-green and amateur-owner hunter classes are set on a 12- or 13-foot stride; in second-year-green and the regular working and conformation hunters, the striding may be a little longer. In the pony divisions, too, the striding will be shorter for the small-pony classes than for the medium- and large-pony classes.
If you’re going to be competing in the amateur-owner division and you’re watching the regular working hunters, find out if the distances are going to be changed for your class; if that information isn’t posted, don’t hesitate to ask the in-gate steward or the course designer. If the distance will be changing, make that mental adjustment as you watch, looking for whether horses are having to hustle down the lines now or are getting the distances easily. Look particularly for horses you know to have striding similar to your horse’s; the more you show, the more familiar you’ll become with your fellow competitors.
Check whether the diagram for your class shows a dotted line: a line beyond which you may not go in making your opening circle. If there is one, it has to be marked on the diagram—but it doesn’t have to be marked on the course itself. Many courses do have a line or hushes or some other marker to indicate the dotted line, but a lot of them don’t. It would be a shame to be eliminated for crossing a line you weren’t aware of. And don’t assume that because one class doesn’t have a dotted line none of them will; some shows allow you to go around the entire ring the first day but restrict your opening circle after that. Check the diagram or ask an official; don’t depend on what other riders say.
As you watch, look for places where horses spook—a corner close to a billowing tent flap, a trash can—and anticipate what you can do to avoid the problem. Maybe you can shave a turn so that you don’t get too close to it. If the dotted line permits, maybe you can ride by the “goblin” and show it to your horse before you start your trip. If it doesn’t, maybe you can take him around the outside of the ring before your class starts and let him watch the flap flutter until he satisfies himself that it isn’t coming to get him. Or maybe you’ll just have to keep your antennae out and be ready to send him forward with a cluck and a tap at the first hint of hesitation.
 Is your horse an experienced campaigner or on the lethargic or sloppy side? If either is the case, you may not want to take him to the hunter ring in the morning. A horse that goes to a lot of shows and jumps a lot of fences can get a little “plain”—a little lackluster and underimpressed about the whole business of jumping. To give him as little excuse as possible, I’d suggest that you not show him the course ahead of time at all; that way, he may pay more attention when he actually competes. If you need to walk around and see the jumps, go right ahead; just don’t take him along.
Check the footing. If it’s hard or deep, or it’s mud or slick grass, you may want to put in studs. (My hunters are all shod for studs behind; that’s just a personal preference of mine, but I think it makes a difference.) Think about what you know about your horse’s way of going on whatever footing you’re seeing. Does he go well on grass or not so well? Do you have to ride him a little stronger in deep footing?
Look for the details as you go around the course. If a jump rail has been set on the cups so that it bows up, it’s easier for your horse to hit. Ask the paddock master or somebody on the ring crew to turn the rail and put the bow down; you’ll do yourself and everybody else a favor.
The first several times you show, you’ll have to tell yourself to look at all these details and think about all these questions—and it’ll feel as if you always find out too late that you missed something. The more you show, though, the more this kind of thinking will become a reflex, and the more naturally you’ll incorporate the adjustments it dictates into your riding plan.
Hunter Turnout
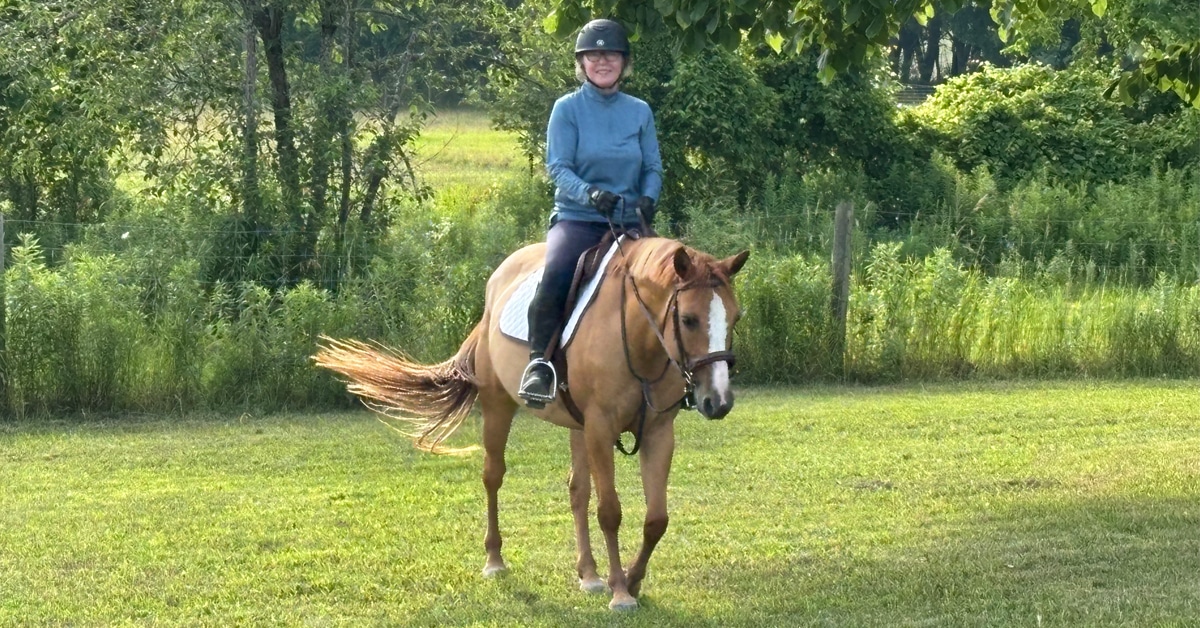
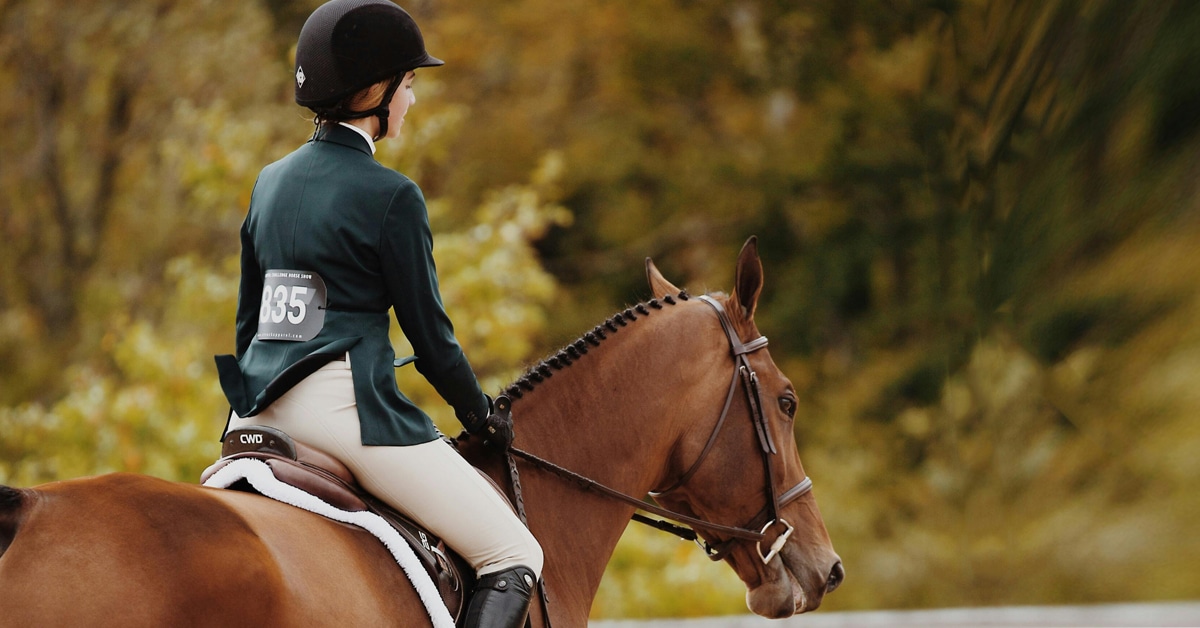
Appearance is a reflection of the rider, no matter what division you compete in. In hunter classes, your horse should be turned out beautifully, with coat shining, mane braided neatly and evenly, tail braided (unless he switches his tail when it’s braided), hooves painted, and ears, nose, and muzzle trimmed. (The top stables turn their horses out this way every day!)
Look critically at your tack and compare it with what you’re seeing on other horses in the show ring. Does it fit neatly? Does it gleam? Does the inch-and-a-quarter-wide leather of your bridle look old-fashioned and dowdy beside the finely stitched bridles on other horses (particularly the ones that win a lot)?
Your outfit counts, too. Does your coat fit well? Are your boots high enough, close- fitting, and polished like mirrors? Is your hat dust-free? Do your breeches conform to current fashion in cut and color?
Looking the part is important: when you look good, you feel good about yourself; when you feel good about yourself, you generally perform better. Even if your trip isn’t so great, you’ll earn some approval from the judge and your fellow competitors for making the effort to present a serious picture. And if you ride well enough to be in top contention with another rider, a bad mark for dusty boots or falling-out braids could be the tiebreaker.
A Little Last-Minute Coaching
If we were at a show together, in the minutes before you went through the in-gate I’d give you a last couple of strategic reminders, tailored to your riding needs. Since I can’t do that for you individually here, I’m going to present a whole range of such tips; pick a couple that you know speak to your needs and tuck them into your thinking for the round you’re going to ride.
As I mentioned right at the beginning of this section, smoothness is key, so you want to keep your aids invisible. The half-halt after you land, for example, is a way to test your brakes unobtrusively; as long as your horse isn’t gaining on you or dropping behind your leg, make it the barest of aids and then just keep going, the way the great riders always seem to. If you have to make a change—a line rides a little more forward than you expected, or you’re worried that your horse is going to spook at the in-and-out—pick up the pace and change your balance after the last jump of the line and into the beginning of the turn to the next, so that it’s all done by the time you’re approaching the next jump; no jerking on the mouth or sudden spurring to ruin the picture. A late pace or steering adjustment interrupts everything, so focus on getting all your homework done before you come out of the turn. The judge normally marks his card while you’re in the corners, so this is the point where you may be able to pick up the pace over four or five strides or give a couple of additional subtle half-halts without attracting a lot of attention.
If you happen to catch a jump a little short because of an unexpected spook or some other reason, you know that you have to compensate right away by making up that little bit of distance again. Or if you suddenly find yourself with an unexpectedly big distance, you know you have to start slowing down just as promptly. You can do it, of course—we’ve done all the adding and the leaving out and the bending lines you need to have the technique down pat—so you just have to recognize the need (which all your counting will enable you to do) and adjust for it.
When you find a perfect distance, don’t do anything. If your horse gains on you or takes a very big jump, react: “Whoa” him quietly but repeatedly; close your leg in the air and pick the pace back up as you land—whatever you need to do. Like the difference between a made horse and a green one, the difference between a great rider and a novice is experience. The more you work with your horse and learn to feel, the more the subtle adjustments you need—and their timing—will become automatic. You won’t have to push or slow down in the next line because you’ll have the pace and rhythm thoroughly organized by the time you begin it.
Step by Step Around the Course
The course below is designed around the typical 12-foot hunter stride. The first line is a four-stride, the second is a three to an in-and-out, the third is a six, and the course ends with a single fence. Let’s ride it together.

As I mentioned earlier, I like to see a nice relaxed trot into the ring—but not if the horse is a bad mover at the trot. If he has a lot of knee action, just walk in; if he’s likely to jig, take two walk steps in and quietly pick up your canter. Once again, knowing your horse is key; what you want is an entrance that will tell the judge, “Here we are, and we’re well worth judging.”
The dotted line gives you plenty of room, so use the whole end of the ring for your opening circle. This will give you a chance to get your pace organized, avoiding the mistake so many people make of starting to build only after turning for the first jump. It also ensures that the judge will have time to finish making his notes from the last go before you meet the first fence. If you make a tiny circle, you might be on your way to the second by the time the judge looks up.
What you want is a nice hunter pace. As you make your big circle, focus on being loose or on being strong (whatever you’ve decided you need to be to ride well), and think of just a few simple things. Stay relaxed, stay straight, keep your pace, and stay out to the rail. Don’t cut corners—and on this course, which starts across the diagonal, don’t rush your turn. You’re going to want to come deep enough into the turn that you get a straight line from fence 1 to fence 2, staying out on the turn until you see the line through both fences. (With this kind of line, in many cases either the horse cuts in from habit or the rider hangs anxiously on the inside rein and makes the horse cut in; whatever the cause, the result is a line that isn’t straight from 1 to 2. I’ve chosen this kind of opening line because of all the times I’ve seen it catch riders out.)
You’ve established your rhythm and pace on your circle, so now your job is to look for a line over both jumps. By at least the time you’re halfway through the end of the ring, be looking up, with your eyes glued to fence 1. Then, as you begin coming through the turn, start looking over 1 at the center of 2, so that you come off your turn on a straight line to the center of both 1 and 2.
Don’t start turning early. If you do, you’ll have to jump 1 on a bit of an angle. Equally important, though, don’t overshoot; the hazard there is that your horse might focus on fence 6. Do your homework in the corner, way back, so that he knows exactly where he’s going and you don’t end up steering him a little this way and a little that way.
Remember, if your pace, rhythm, and line are correct, you don’t have to worry about the distance; just maintain your canter and head for the middle of both fences. If you’re on a horse that looks every time he goes in the ring—and especially if you weren’t able to school him in the ring and show him the fences—you may need a little cluck and more leg, particularly in his first class of the show. On an older, made horse, there should be nothing to it.
The 60-foot distance from 1 to 2 is a perfect four-stride line, but because it is your very first line, it could get long. For that  reason, and because it’s going away from the in-gate, your horse may need a little more leg to keep going; in some cases, horses stare down the first line and decide they don’t want to go all that way to the other end of the ring.
How the distance rides will also depend on your horse’s reaction to the size of the ring. If it’s big and roomy, he may be much easier to get down the line than he would be in a cramped indoor ring, or one with bleachers towering along the rail on all sides. It may be, too, that you have to ride him a little down the first line but can ease off on the second or third as his confidence improves. Different horses have differing degrees of reaction to their surroundings, of course; if yours surprises you now, store the information away for use next time.
As you land from fence 2, sink into the saddle so that your seat touches it—no perching!—and take a half-halt. This should be invisible; just enough to ask your horse, “Are you paying attention?” Canter right to the end of the ring—don’t lean in or grab the inside rein—and as you come to the fence line, look toward fence 3 and gently think a turn by bringing both hands to the inside. Your horse will automatically turn that way.
(The only time you’d want to turn earlier would be if you’d seen that something at the end of the ring was spooking the horses you watched earlier. In that case you’d be smart not to canter all the way to the end of the ring—and if I were judging, I’d think the more of you for figuring it out!)
If you met both fences in the first line where you wanted to, maintain that pace through your turn and on to the third fence. If you got to 2 long, your pace was a little under; pick it up as you canter away from fence 2, heading for the fence line and through the turn. If you got there deep, it was a little over; you can “Whoa” your horse a bit—but keep a good rhythm as you continue through the turn, looking around and in to sight fence 3. The line from 3 to 4 is a little longer three strides (50 feet) into an in-and-out; although your horse may pick up the pace because it’s a line toward the in-gate, it’s equally likely (especially his first time in the ring) that the in-and-out will back him off.
Go deep into the corner again and find a very straight line through 3 and 4. Carry your pace to 3 and make a very straight jump; don’t angle over it. Land from 3 and keep your horse galloping to 4. It’s a forward distance, and the more pace you have, the less chance that the in-and-out will back him off. (An older, experienced horse will just march right down there.) The in-and-out itself, set at 25 feet, could ride a little long—but it faces the in-gate, and your horse will be seeing all his friends down there behind it, so you may have to say, “Whoa,” quietly. Whether you need a cluck or a “Whoa”—or both!—on this line is going to depend on your horse; the better your relationship with him, the better the chance you’ll figure out which one.
When you land from 5, take another “Are you listening?” half-halt. Depending on the pull of the in-gate, you may need another “Whoa” to let your horse know that he doesn’t get to leave now—or you may need to cluck to keep him from hanging back by the in-gate where his buddies are and slowing around the turn. Make sure you maintain that same rhythm as you go through the turn—smoothly; in the hunter ring, a cluck or a “Whoa” is usually better than a kick or a pull. The little pace clock in your head should be ticking away, telling you how you were through the last line and what adjustments, if any, you need for the next one: to close your leg if he’s slowing, and to “Whoa” around the turn if he gained on you through the in-and-out and is starting to pull your arms out.
The distance from 6 to 7 is 86 feet, two feet longer than a perfect six 12-foot-stride distance. Make sure you come deep enough in the turn to 6 that you find a straight line to both jumps, and use the whole turn, staying out to the edge of the ring to make the turn correctly. This is another line going away from the in-gate, so you’ll probably need to keep your horse coming again. You’ll have seen from the previous horses just how the line really rides, however: do the extra 2 feet make it long or not?
Even though the diagram gives the measurements, it’s quite likely that one line will ride a little longer or a little shorter than another owing to spooky jumps or an uphill or downhill grade. Generally, the farther along in the course you are, the more open the horse’s stride becomes, so you may not need to “go” as much between 6 and 7 as between 1 and 2. Beware, however, as I mentioned when I was first talking about course chemistry, that some course designers take that open stride into account and make the striding longer on the later lines, so that you have to keep going just as actively as before.
Take another half-halt after fence 7. Ideally you’ll keep the same even pace and rhythm to 8, the single jump at the end of the course—think of what you did in the counting exercises and the “jump without looking” exercise. Of course, if your horse is gaining as he heads for the in-gate, you will need to say, “Whoa,” so listen to the clock in your head and ask yourself whether he’s speeding up, slowing down, running away, staying steady …. Be aware, though, that it’s a very common fault in this sort of situation for people to think the horse is going to run away—so they slow down too much and then have to add, add, add to that final single oxer, or slow it down and then run again. Either way, of course, it’s unmistakably a pace change—a major fault.
After the last jump, say, “Whoa,” sink into your saddle, and try to keep your horse calm as you finish out your trip. He may get a little fresh after the last fence when he hears a spattering of applause from your friends, or the voice of the announcer on the loudspeaker. Guide him onto a circle and pull up gradually, as invisibly as you can.
Your exit is another good place to show off a lovely trot if your horse has one, or a relaxed walk—it’s your call. If he’s being a little silly and you have to take his mouth, do it as invisibly as possible; don’t stage a battle of wills. Try to sneak out. Judges remember from one day to the next which riders try to tear their horses’ heads off and which ones spur aggressively, so keep whatever you do low-key. And remember there’s a good chance that, even if your horse speeds up toward the gate as you start to make your circle, he’ll quickly figure out that he’s finished and let you pull him up quietly.
***
An excerpt from Anne Kursinski’s Riding and Jumping Clinic by Anne Kursinski with Miranda Lorraine. Published by Trafalgar Square Books / HorseandRiderBooks.com. Order here.
The Latest