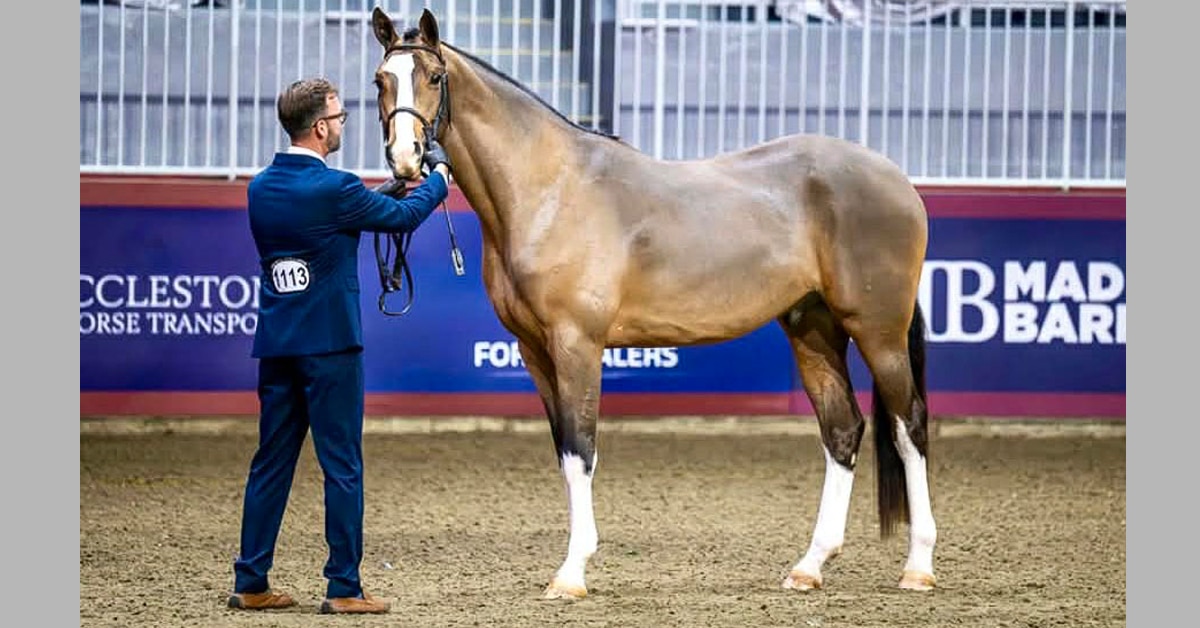
“The horse is “poising” its head, but is not actually stepping through the back into a solid contact,” he explains. “When I refer to substance in the contact, I mean that the feel between the hand and the horse’s mouth is palpable in a nice, elastic way. Lightness should not be brittleness, where the rider is tense in the arms and worried about touching the mouth.” In order for a horse to progress from a simple transition between walk and trot or trot and canter, the connection and acceptance of contact must be established. If they are not, the horse will not develop the ability to correctly and confidently perform the transitions from walk to canter and from canter to walk.
TESTING READINESS
Before you introduce the transitions between walk and canter, the trot-tocanter transitions obviously have to be in place, but the transitions between walk and trot also need to be really safe. In these simple transitions the horse should remain supple and relaxed, while at the same time staying in front of the rider’s leg. If the horse has not learned to stay in front of the leg in both the upward and downward transitions between gaits, he will be prone to sucking back when the walk-to-canter aid is applied. He will canter, but he will be behind the aids.
The transition from trot to walk is an important preparatory skill for the canter-to-walk, so that the horse truly understands that a downward transition does not mean “stop going forward”. A solid base in the trot-to-walk transitions is also important for the rider. A common mistake with inexperienced riders is the tendency to ride “backward” in the downward transitions. When the rider stops the motion in the seat, the effect is that it kills the horse’s motion from back to front in the downward transition. I will often tell students that when they ride the transition from canter to walk they should think about the feeling they have when riding the upward transition from walk to canter. The image reminds riders that the downward transition is not a “stopping” movement.
When you are testing the transitions between trot and walk, ride them not only on the track, but also on circles and on an inside track. By performing them away from the side of the ring, you are testing whether your horse is truly straight. Riding them on circles reinforces the horse’s willingness to be pushed from the inside leg to be framed by the outside aids. That inside-leg-to-outside-rein connection becomes very important in the walk-tocanter transition. Trot-to-halt transitions are also useful in developing the idea of collection, or containment, in the horse. Because canter-to-walk demands the beginning of collection, the trot-to-halt is an effective preparatory exercise.
I like to test the quality of balance in the canter with a couple of exercises. One good indicator that your horse is ready is the following figure: ride a nice, balanced ten-metre circle in canter, then continue down the long side, followed by a second ten-metre circle 20-30 metres down the long side. The horse should be able to perform this in both directions with ease, with no change in balance or rhythm.
Counter-canter is not an exercise I use in combination with training the walk-canter transitions, but it can be a good test of readiness. A five-yearold horse that is well developed in the basics should be able to perform the counter-canter loop found in First Level tests – the one that goes from the corner coming out of the short side to X and back to the corner at the next short side. A fiveand- a-half-year-old horse should be able to maintain balance in countercanter around a half 20-metre circle on the short side of the arena.
It is always important to make sure all exercises work in both directions. Horses naturally have a stiff side and a hollow side. It is our responsibility to use correct, balanced training to make our horses as equal on both sides as possible. It must be the goal that the horse is supple enough to make repeated transitions in both directions.
WALK TO CANTER
I introduce the upward transition from walk to canter before I train the canter-to-walk transition. Once the horse can perform transitions with ease and at precise markers between trot and canter, I will progress to the transition from walk to canter. The figure I most often use to begin teaching the transitions is to ride a 20-metre circle at one end of the ring. At the point where the circle goes from the open side to the closed side (for example, in a left 20-metre circle at the A end, as the circle approaches K), that is where I ask the horse to canter. By asking for the transition as the horse approaches the wall of the arena, I am using the wall or fence to reinforce the outside rein.
It is very possible that in the first few attempts, the horse will trot a couple of steps before cantering. For some horses, those one or two trot steps are a way of making it a little easier, but it’s important to be cautious that the trot steps are not sending the horse onto the forehand. If the horse is struggling a little bit to stay in front of the leg, or is a bit slow in his hind leg, the trot step can help him.
After you have achieved the upward transition from walk to canter and stayed in canter long enough to be certain the horse is balanced and understands canter was what you wanted from him, a nice canter-to-trot transition should be ridden until you have begun to train the canter-to-walk transitions.
Once the horse is performing the walk-to-canter transition on the circle going into the closed side of the ring, you should be able to introduce the transition in other places in the ring; but I always encourage the schooling of these early transitions on curved lines. The curve reinforces the inside rein to outside aids that is so important; horses also tend to lose their balance more easily in straight lines than on curves.
CANTER TO WALK
I introduce the downward transition only after the horse demonstrates understanding and obedience with the upward transition, in both directions. A smaller circle, such as a ten-metre volte, is both good preparation and a good test for whether the horse is ready for the walk transition. The decreasing of the size of the figure produces a degree of what I would call “baby collection”. When I have the feeling that I can sit there and decrease the working canter a little, while the connection remains the same, I know the horse is ready to try the downward transition to walk.
I will often start out by riding a nice walk-to-canter transition, then on a circle I decrease the stride as if I were going to ask the horse to walk, but then I let the horse keep cantering instead. When I can do an “almost” transition, then I can dare to ask the horse to walk.
I often remind my students that decreasing the canter is not just a matter of using the rein to reduce ground coverage, but a containment of the same amount of energy is what is required to increase carriage. Don’t think “less ground cover”, think “more carriage”.
Just as the wall can be helpful in the upward transition, it can be equally useful when you introduce the downward transition. I go onto a circle that approaches the wall at the short side; this is very often going to be a smaller circle, such as a ten-metre volte. As the circle goes from the open side of the ring toward the wall on the short side, I will ask for a walk transition. The first couple of times will be somewhat on the forehand, as the horse learns how he needs to carry himself into the transition.
As with the upward transitions, once the horse has learned to do what is asked and can go from canter to walk, you should be able to school the transitions anywhere in the ring, but always on curves while the horse is still learning.
The Latest

