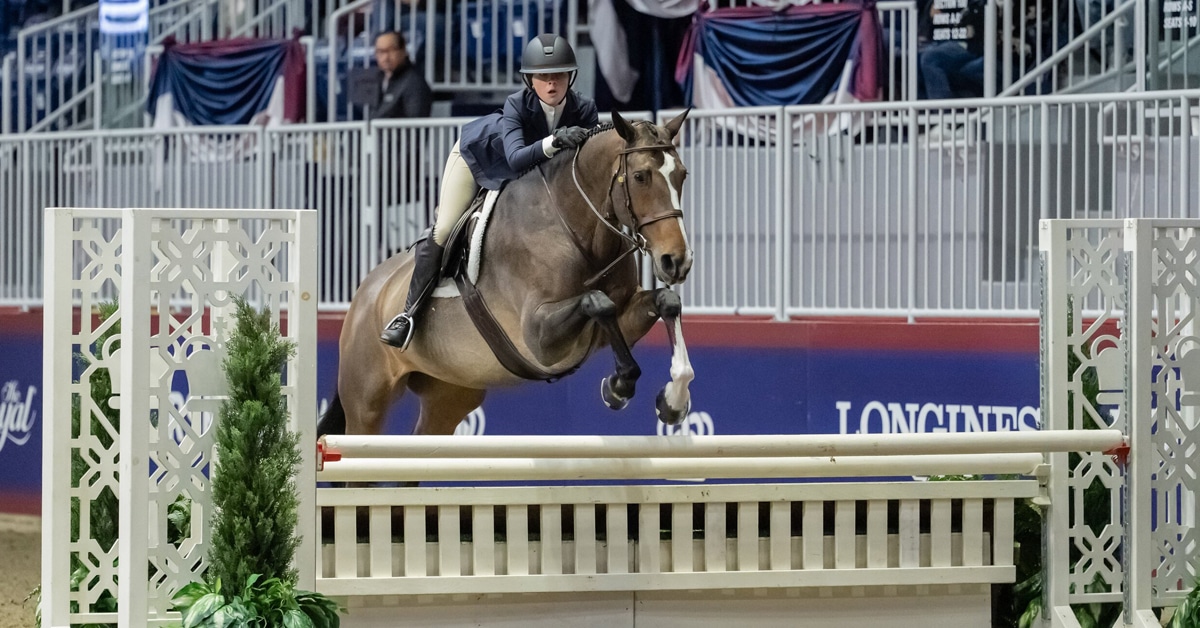
The canter loop in First Level Test 3 demonstrates the horse’s balance, suppleness, and ability to maintain rhythm and connection through a shallow counter-canter line.
The purpose of the counter-canter is to straighten the horse in preparation for beginning of collection in the canter. In young or lower-level horses, the canter is often naturally a little crooked and the hind legs can be wide behind. The job of the counter-canter is to show the horse how to put the hind legs together and have the shoulders in front of the hind legs. This improves straightness so the shoulders can stay up while managing the turn while on the outside canter lead.
Remember the training scale where “Straightness” comes before “Collection”. Straightness in the training scale not only means alignment, but also the hind legs coming together so they can start to step under for collection.

First Level Test 3 is the first time the horse and rider are asked to show a baby counter-canter. The test asks for:
Movement #18. Slightly after F begin a single loop to X returning to the track slightly before M, maintaining lead.
The directives for the movement tell you some information on what the judge is looking for:
Regularity and quality of canter; shape and size of loop; positioning; balance.
What is it supposed to look like and how do you ride it?
In simple words, the rider will turn onto the diagonal at F while in left lead canter (below left). As you approach the centre line, you will start a loop back, touching X and returning to the track at M while staying on the right lead. Although the wording says ‘loop’, the actual execution of how it rides will be more like three straight lines, rather than a curvy line.
This is how you get started riding the canter loop.
The first thing to try is to ride onto the diagonal and turn up centre line, continuing straight (below right). This will show you how much straightness, control of the canter and balance is required. This is also a great exercise pattern to return to if you or your horse have any troubles with the horse switching leads, breaking into trot, speeding up, dropping the shoulders into the turn or throwing the haunches into the lead.

Once you can do this exercise, you will continue with the turn from centre line to the corner to finish the loop. Ride the same line from the corner to the centreline, joining the centreline one to two strides before X. Ride up the centre line for three or four steps, and then make a turn to the corner.
For the first attempts, it does not matter if you make it to the corner or not. The better you are at maintaining the canter balance, rhythm, and ride-ability, the easier this exercise becomes and you will be able to make the line work and end at the right location.
TIPS:
Prepare in the Corner
- Ride a good corner and the turn off the wall at the corner letter towards the 3/4 letter on the opposite side. Making this line ensures you will land on the centre line before X, allowing you to be straight over X and have enough space to return to the corner letter.
- Ensure the horse is straight, in balance and has good rhythm.
Maintain the Rhythm and Tempo
- Keep the canter rhythm consistent; don’t let the loop cause you to rush or slow down.
Attention to your Position and Aids
- The turn onto the diagonal should be off your outside rein and your horse is straight on both reins.
- As you turn to the counter turn, keep the neck the same, rather than bending to the turn OR pulling the head and neck into the lead to try and keep the canter lead.
- Keep your inside leg at the girth, outside leg is back. While you are in right lead canter, for example, your leg stays in this position the whole time you are cantering on right lead. Turning to the right (into the lead) or to the left (counter-canter) should not make a difference to your leg position; this is how you help your horse know what lead to be on when you turn left or right.
- Your weight is on your outside seat bone. Just like your leg position, this does not change as you turn left or right. While sitting on your outside seat bone (tip – look at the horse’s outside ear), will help keep the lead while blocking the other lead as you turn into the counter-canter.
As a finished product, the goal is to have a balanced canter in a steady rhythm that is able to turn both ways regardless of which lead you are on. This will set you and your horse up well for the more difficult counter-canter requirements asked for in Second Level.
The Latest